Preparation Before Operation
This stage covers the preparation work before the formal startup of the robot, encompassing the entire process from unboxing to system power-on. Correctly completing the operations in this stage is the foundation for ensuring the safe and stable operation of the robot. Please follow the steps strictly to avoid equipment abnormalities or damage caused by improper operation. The flowchart is as follows:
Unboxing Tutorial
Confirm Unboxing Materials
The unboxing materials include:
- Robot body
- Handheld controller
- USB Type-C dock
- User manual
- Calibration tools
- External emergency stop device
- Wireless remote emergency stop device
- Spare battery
- Charger
- Transfer machine
- Static stand
Lift Out of the Flight Case
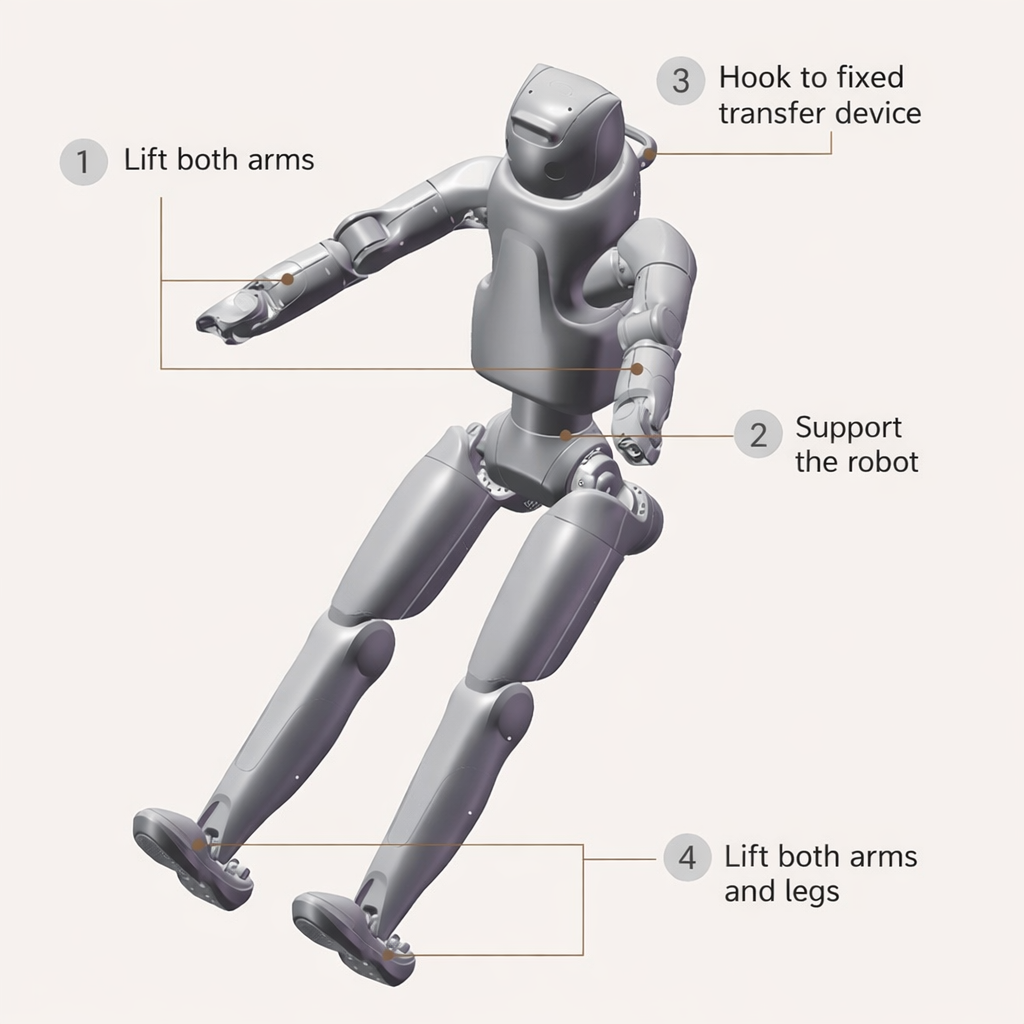
Unboxing the robot requires three people: two lift the robot's arms, while another assists in supporting the robot and fixes the hook behind the robot's neck to the transfer machine. Then, the two persons lift the robot's arms and legs, and one person presses the ascent button on the transfer machine to steadily hoist the robot out of the flight case.
Power on Guide
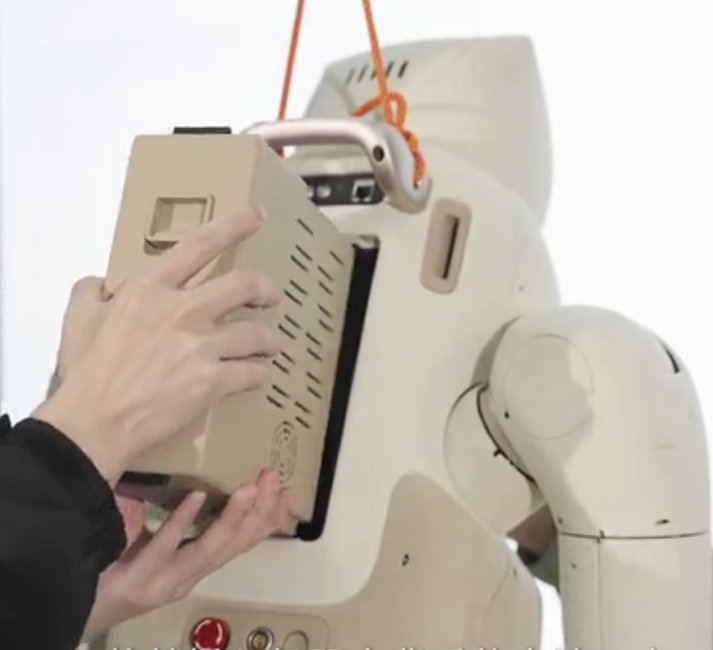
Install the Battery
Insert the battery into the battery port on the back of the robot. When properly inserted, you will hear a "click" sound.
Power On the System
- Press and hold the battery power button until the indicator light stays steadily lit. The robot's eyes will light up.
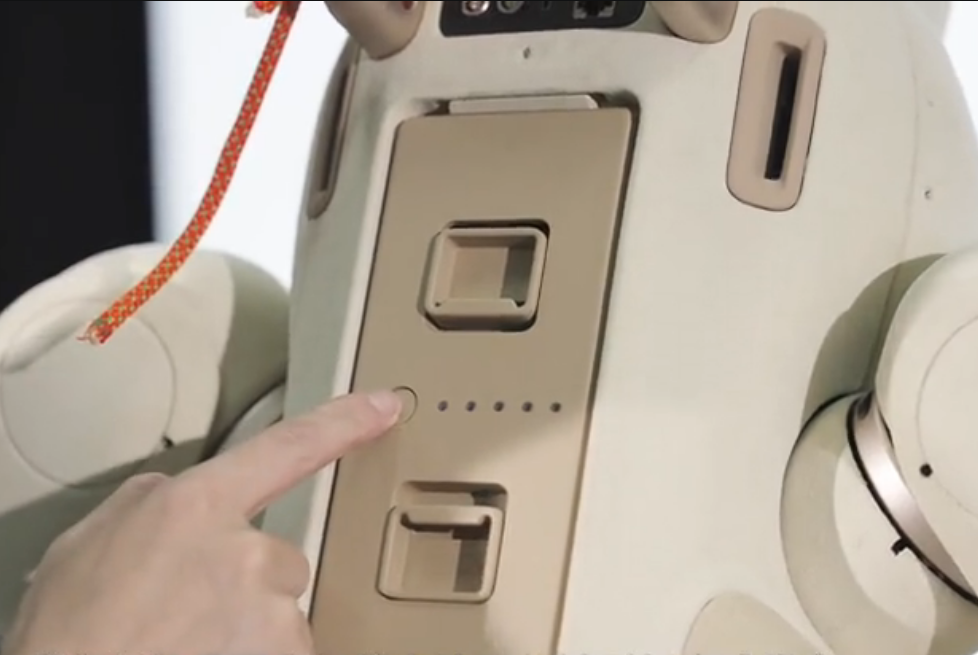
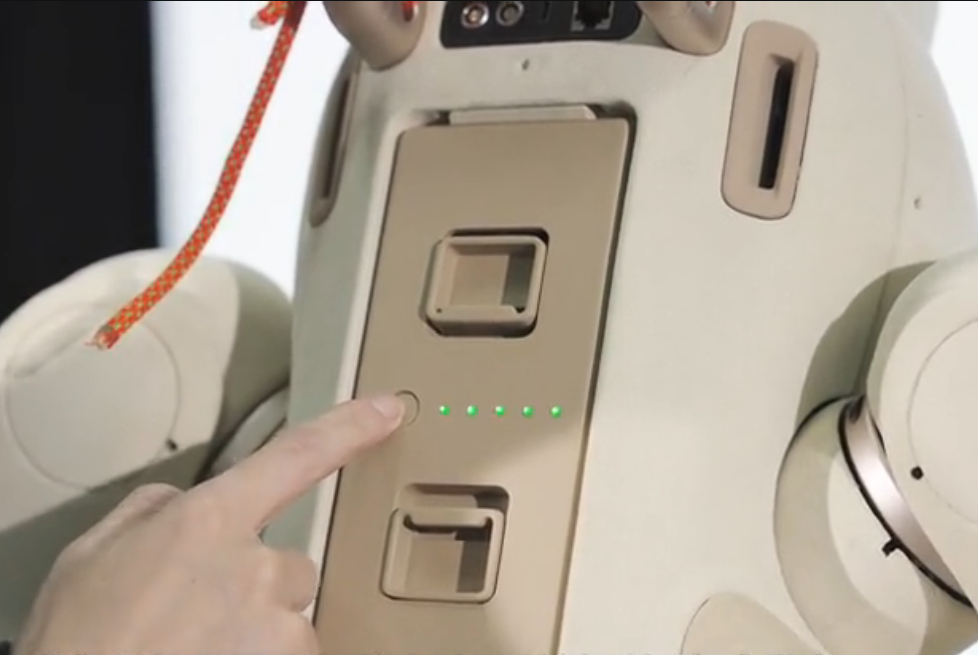

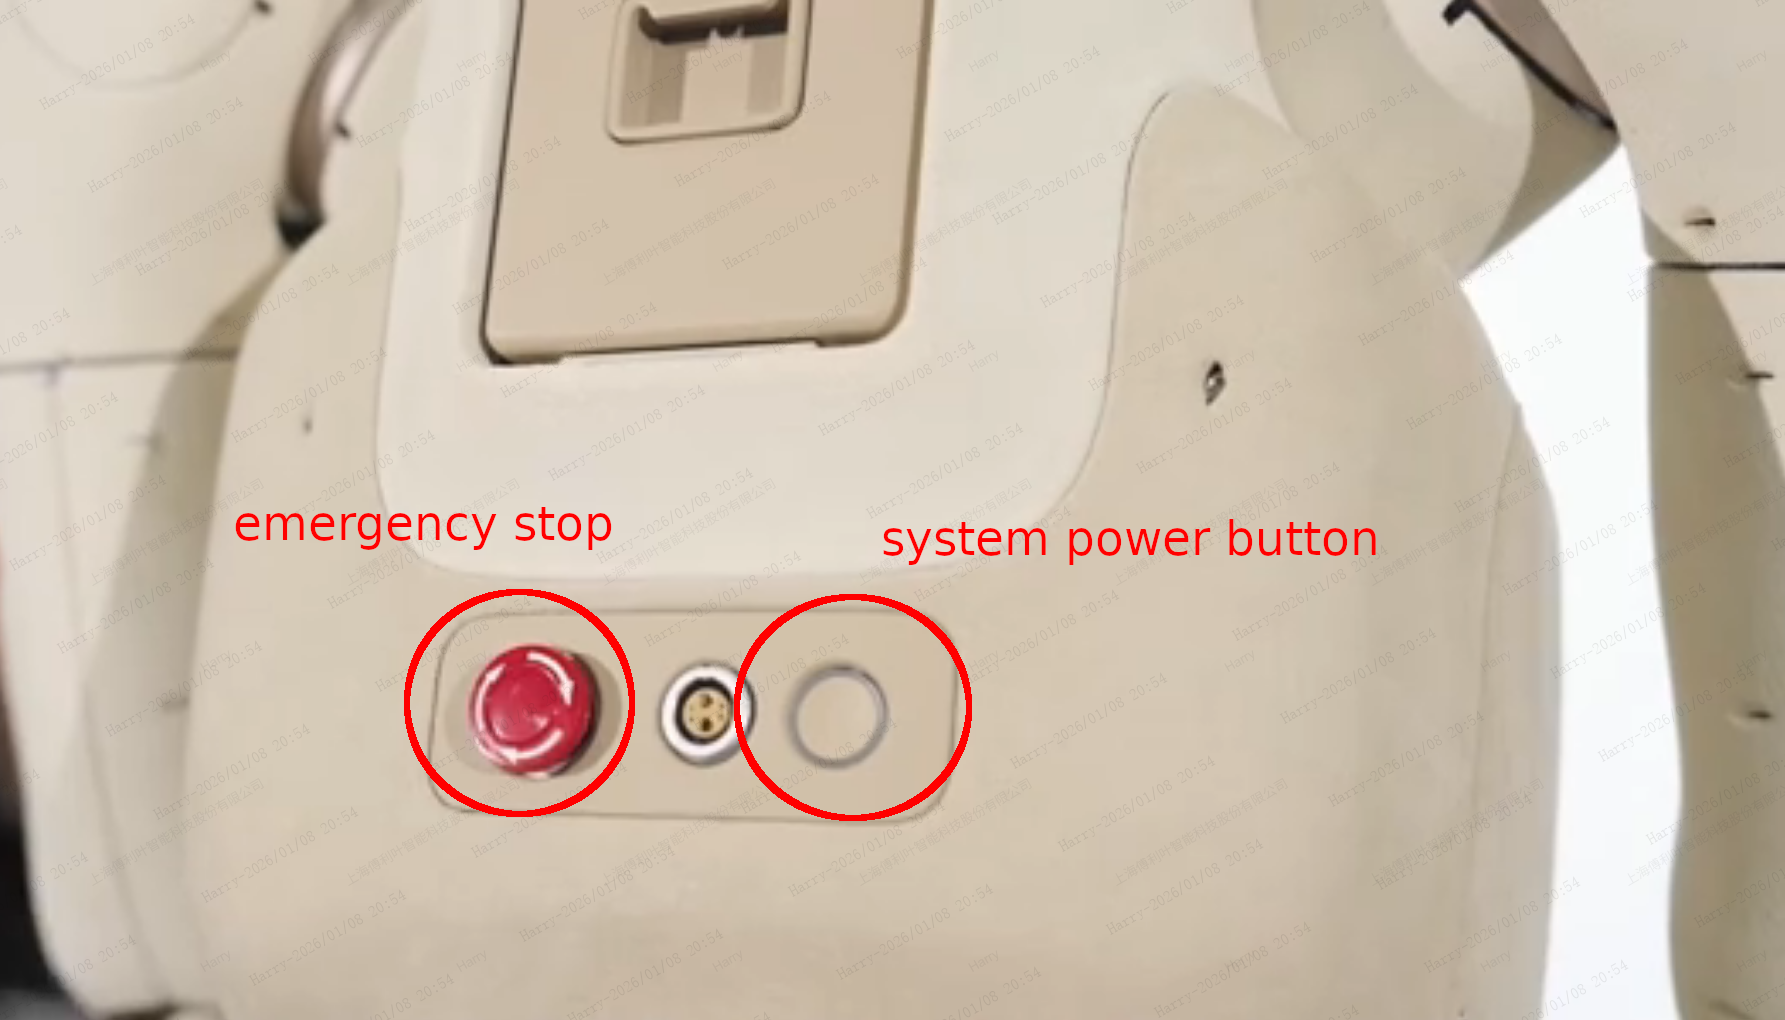
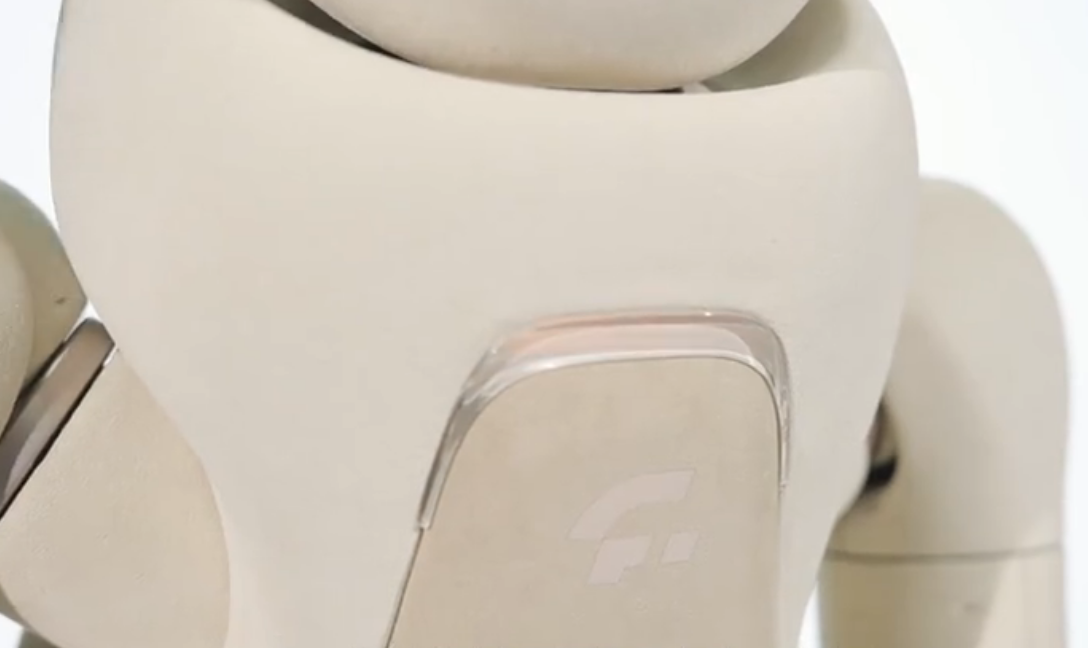
- Twist the emergency stop switch to release it, then press and hold the system power button. The indicator light will begin to flash. Observe the light on the robot's chest; release the button after the light starts flashing. At this point, the robot's arms will also perform a power-on movement.