Quick Start (Simulation)
This article introduces the quick process of controlling the robot in simulation using the Fourier Aurora SDK.
Environment Dependencies
Simulation development can be conducted on an external PC. Our development environment is provided as a Docker image, so Docker installation is required. If Docker is not installed, please refer to the official Docker installation guide: Get Docker.
Install Aurora Service
First, you need to install the Aurora service on your PC. We provide a Docker image for easy installation. For Aurora installation details, see the Installation Tutorial.
Download Fourier Aurora SDK
Run the following command:
git clone https://github.com/FFTAI/fourier_aurora_sdk.git
Connect Joystick
Connect your joystick to the computer. Aurora uses the Linux built-in driver joystick.h to read user joystick data. To verify if the device is correctly loaded into the system, run the following command in the terminal:
ls /dev/input
You should see a device file named js0. Aurora reads joystick data through this device file.
For more details on joystick usage, please refer to the Joystick Usage Tutorial.
Start Container
You can run the following command in the terminal at the root directory of the repository to start the container. If necessary, modify the Docker image in docker_run.bash. You may need to use the (sudo) docker images command to check the available Docker images on your system.
(sudo) bash docker_run.bash
Note: Please ensure you have the correct Docker image. For details, refer to the Installation Guide.
Start MuJoCo Simulation
For simulation usage, you need to start another terminal and enter the container you just started using the following command:
(sudo) docker exec -it fourier_aurora_server bash
Then, you need to start the simulation environment by running:
python3 sim/start_simulate_root.py
After running, operation prompts will appear in the terminal. Select the robot number and terrain number. For the robot number, enter "0" (FOURIER_N1). The terrain can be specified; here, using FLAT as an example, enter "0". After inputting, a UI interface as shown in the image below will pop up.
Start Aurora
Before running Aurora, you need to determine the startup configuration items. The configuration file is located at config/config.yaml.
Config:
  RobotName: gr2 # gr1 / gr2 / gr3
  HardwareType: null
  RunType: 0 # 0 run simulator / 1 control real robot
  UseJoyStick: true # use as default
  DomainID: 123 # use as default
- RobotName: The robot model, here should be
fouriern1. - RunType: Operation mode,
0means run in the simulator,1means control the real robot. Here should select0. - UseJoyStick: Whether to use joystick control,
trueenables,falsedisables. Since joystick control demonstration will follow, selecttrue. - DomainID: DDS communication domain ID, used to distinguish different communication domains in the same network environment. Default value is
123. It can be modified to different values to avoid conflicts in multi-robot collaboration.
After confirming the configuration file, run the following command to start Aurora:
AuroraCore --config <path_to_your_config_file>
If the program runs successfully, the following message will appear in the terminal:
[info] FSM state run, enter "Default" mode by default
Control the Robot
The Aurora SDK provides two methods for robot control: joystick control and client control. This article will introduce how to achieve robot standing and walking in the simulation environment using these two control methods respectively.
1. Control the Robot Using a Joystick
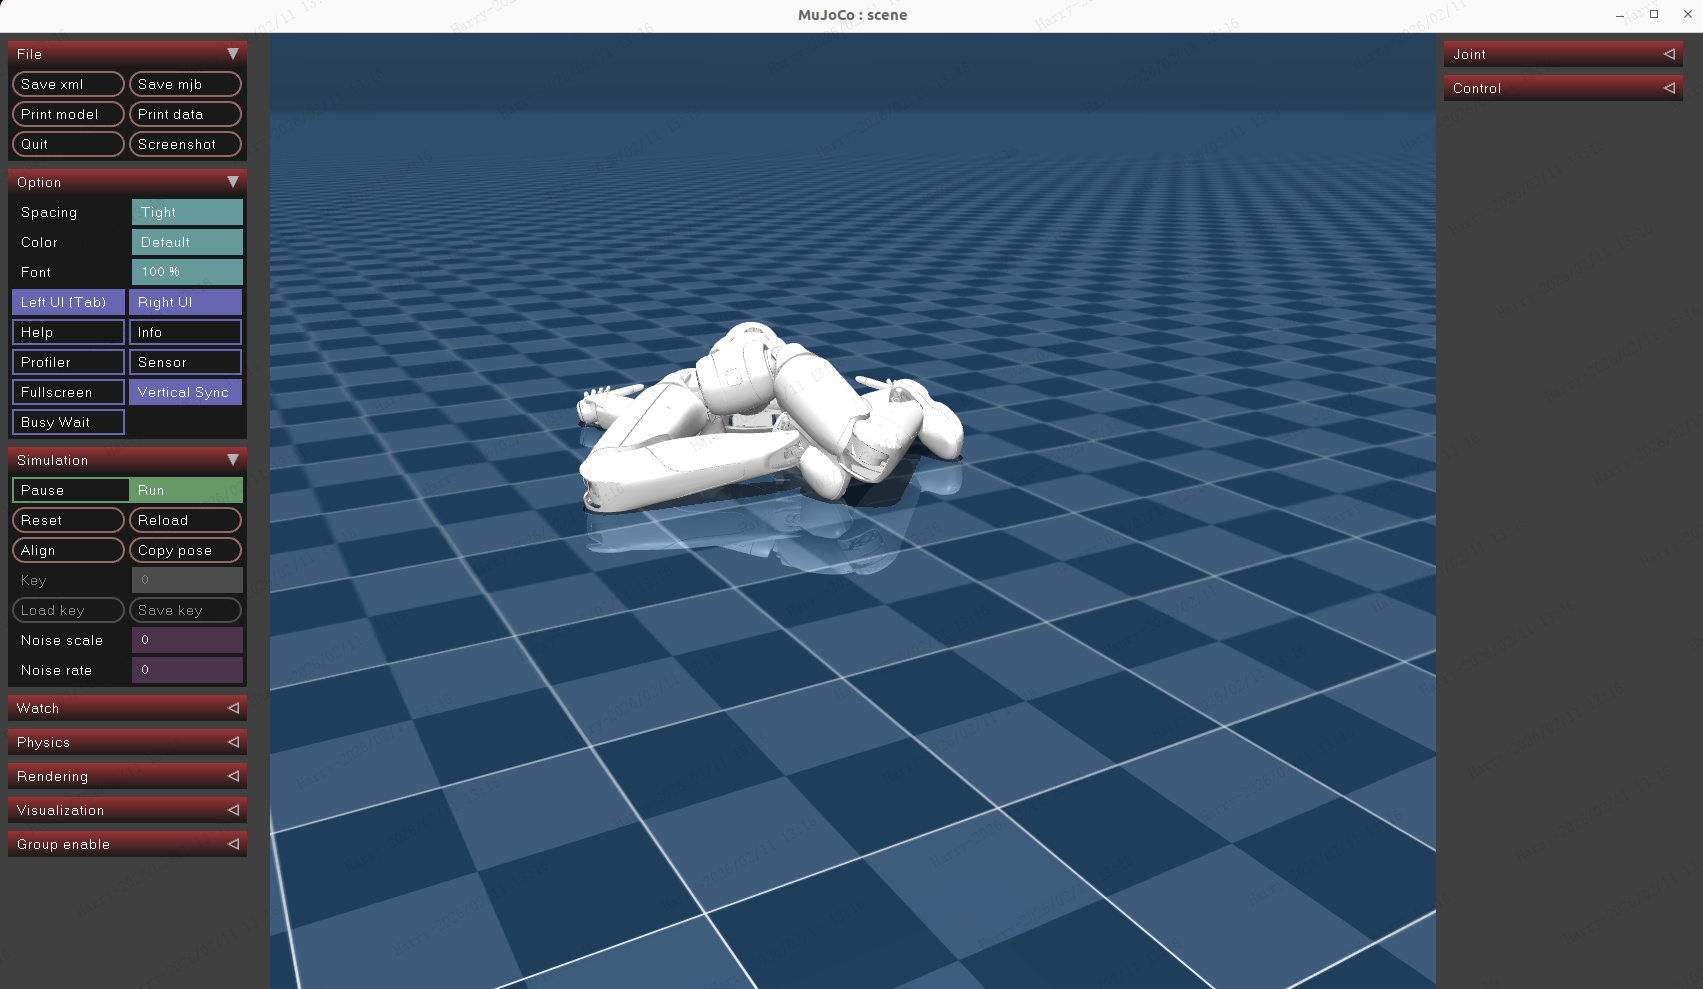
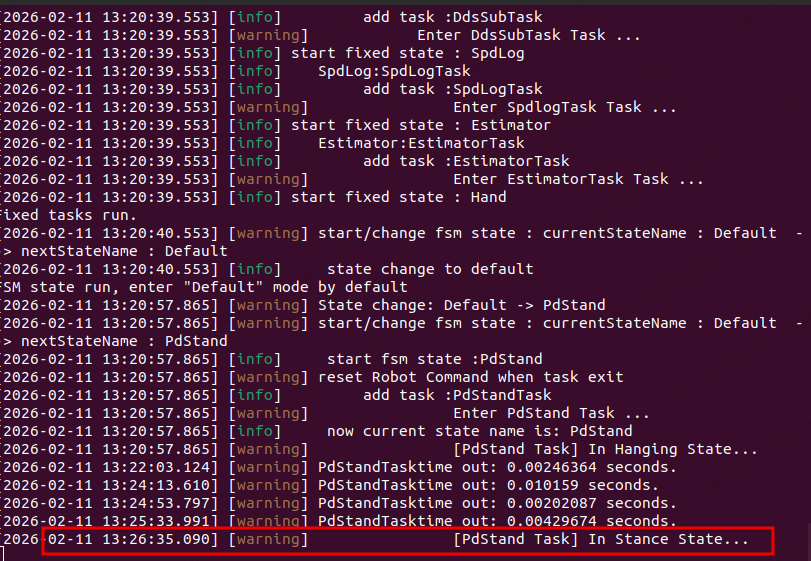
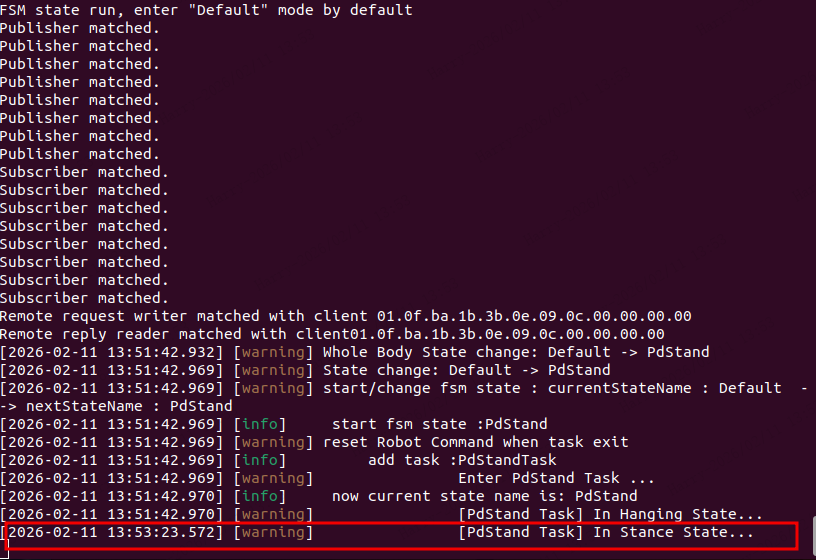
After starting Aurora and the simulation environment, press the joystick buttons LB + B. The terminal will show the state switching from "default" to "Pdstand". In simulation, since the robot is not in a stable standing state on the ground when entering the "Pdstand" state, the robot is in Hanging State. The robot lies on the ground and starts adjusting joint postures to prepare for standing.
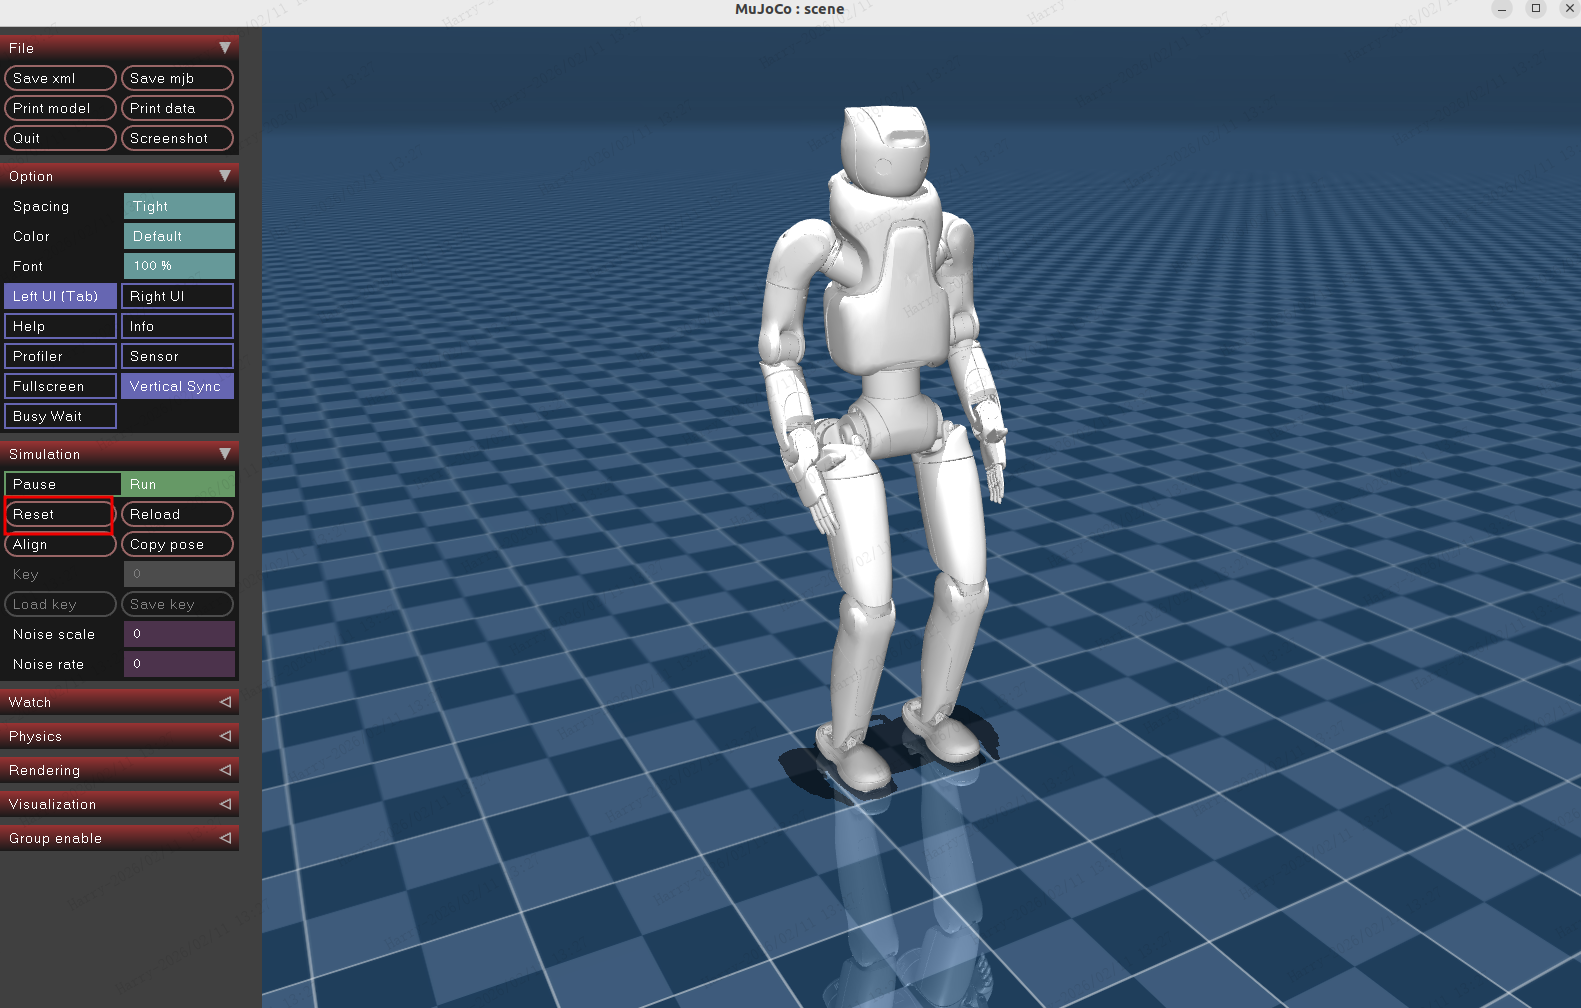
Click Reset in the MuJoCo UI interface. After the robot stands on the ground, the terminal shows the robot is in Stance State.
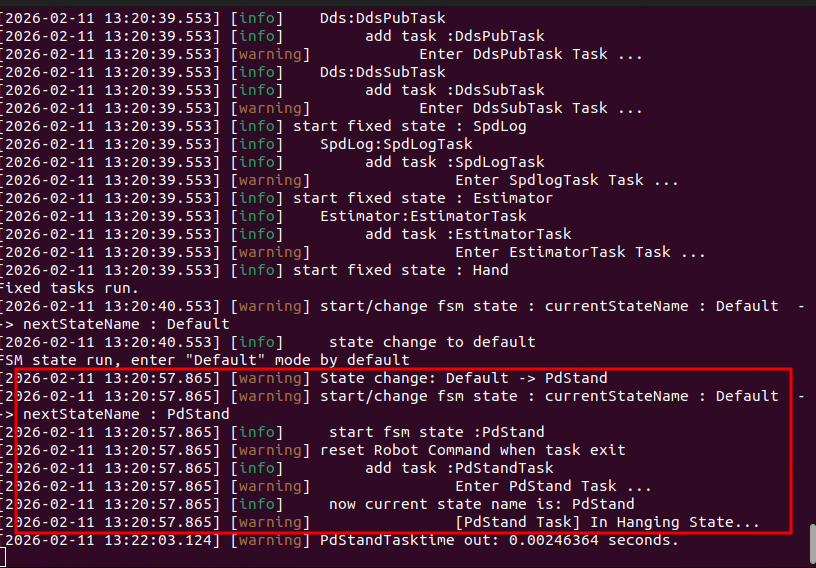
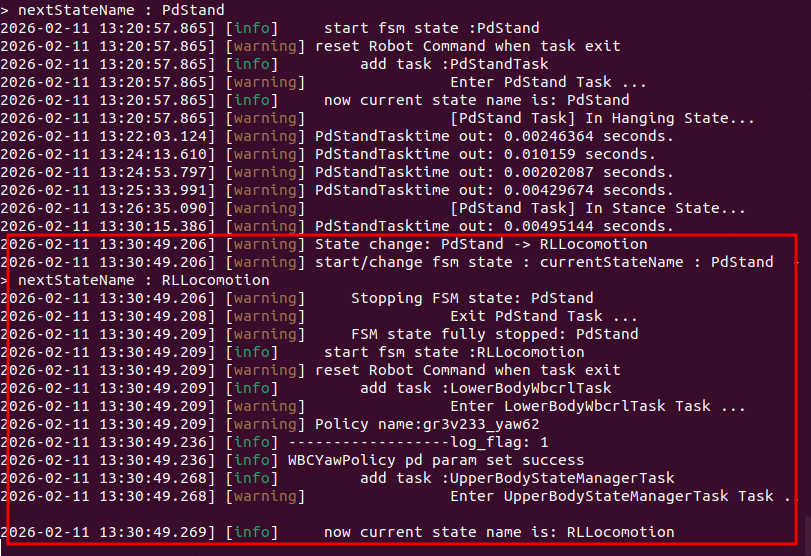
Press the joystick buttons RB + A. The terminal shows the state switching from Pdstand to RLLocomotion. The terminal display is as follows:
Now we can control the robot's speed using the left and right joysticks. Push the vertical axis of the left joystick forward, and the robot starts walking forward.

At this point, you have successfully used a joystick to control the robot to stand and walk in the simulation environment. This tutorial only demonstrates part of the functions of the standing and walking states. For more functional introductions of other states, please refer to the Developer Guide.
2. Control the Robot Using the Client
You can also use the Python client provided by the SDK to control the robot. For details on client usage, refer to the Client Usage Introduction.
Install the Client
Client usage can be performed inside the image or in a local Python environment.
Start another terminal, enter the image you just started or your local Python environment, and run the following command to install the Aurora client:
sudo apt install python3-pip
pip install fourier-aurora-client
⚠️ Note:
If using a Python environment, the Python version needs to be greater than or equal to 3.9.
Run demo_quick_start
Enter the image or virtual environment with fourier-aurora-client installed, navigate to the Fourier Aurora SDK file directory, and run the following command:
python3 python/example/gr3/demo_quick_start.py
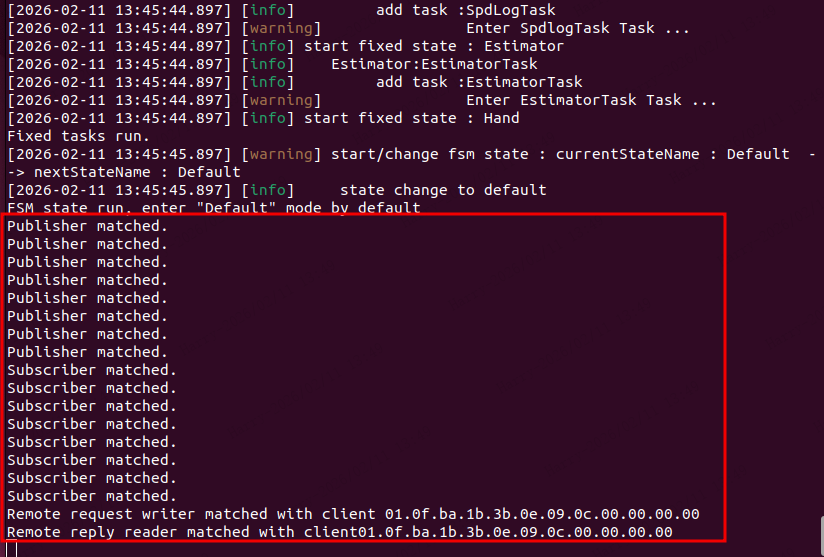
After running, the terminal will display the following communication matching prompts, as shown below:

According to the prompt in the client startup terminal "Press Enter to switch to PdStand...", press the Enter key. The Aurora startup terminal shows the state switching from "default" to "Pdstand". In simulation, since the robot is not in a stable standing state on the ground when entering the "Pdstand" state, the robot is in Hanging State. The robot lies on the ground and starts adjusting joint postures to prepare for standing.
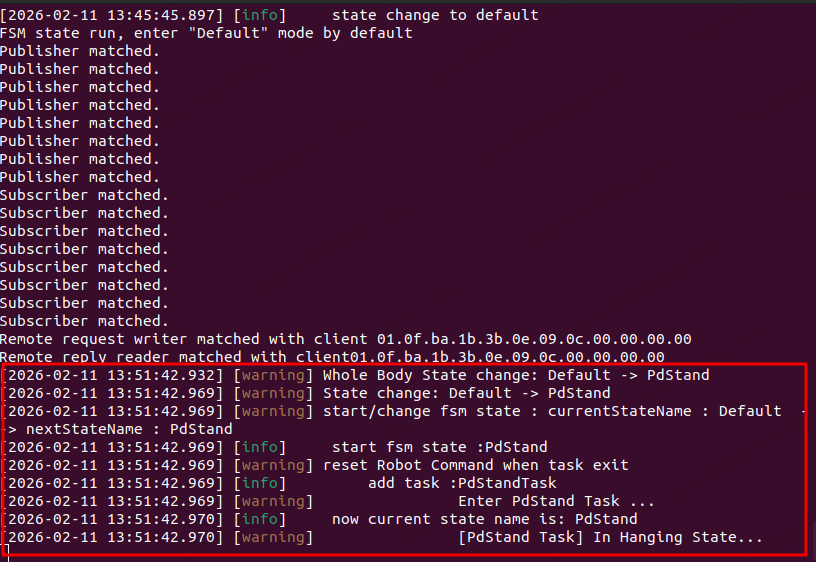
Click Reset in the MuJoCo UI interface. After the robot stands on the ground, the terminal shows the robot is in Stance State.
According to the prompt in the client startup terminal "Press Enter to enter walk task...", press the Enter key. The Aurora terminal shows the state switching from "Pdstand" to "RLLocomotion".
According to the prompt in the client startup terminal "Press Enter to walk...", press the Enter key. This calls the set_velocity function, sending a command to the Aurora service for a forward speed of 0.2 m/s, and the robot starts walking.

At this point, you have successfully used the client to control the robot to stand and walk in the simulation environment. This tutorial only demonstrates part of the functions of the standing and walking states. For more functional introductions of other states, please refer to the Developer Guide.