Quick Start(Real Robot)
This article introduces the quick process of controlling robots on actual hardware using the fourier aurora sdk.
System Login
Local Login
Connect a monitor, keyboard, and mouse to the robot's chest computer. After powering on and entering the system desktop, the user information is as follows:
- Username: lowercase robot product number, for example, if the robot product number is N125JN0058, the username is n125jn0058
- User password: fftai2015
Remote Login
Users can remotely access the robot's chest computer via SSH.
-
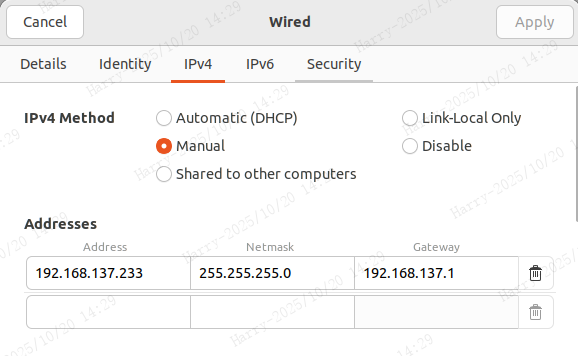
Wired Connection: After connecting the robot and an external PC via an Ethernet cable, configure the IPv4 address of the PC's Ethernet adapter as follows: Set the IP address to: 192.168.137.X (where X is a custom number, but avoid IP conflicts with actuators and other devices) Subnet mask: 255.255.255.0 Gateway: 192.168.137.1
Enter the following command in the terminal to log in via SSH. For example, for a robot with product number N125JN0058, the SSH command is:
ssh n125jn0058@192.168.137.220Password: fftai2015
-
Wireless Connection: After the robot is powered on, the system will automatically start the hotspot signal of the robot's main control system. Users can connect to the robot's hotspot signal via mobile phone or computer.
Hotspot name: username, e.g., n125jn0058
Hotspot password: 66668888.
After connection is established, log in to the robot via SSH using the same method as the wired connection.
Installing the Aurora Service
First, you need to install the Aurora service on the robot NUC. We provide a Docker image for easy installation. For Aurora installation details, please refer to the Installation Guide
Downloading the Fourier Aurora SDK
Run the following command:
git clone https://github.com/FFTAI/fourier_aurora_sdk.git
Starting the Container
You can run the following command in the terminal at the root directory of the repository to start the container. If necessary, modify the Docker image in docker_run.bash. You may need to use the (sudo) docker images command to check the available Docker images on your system.
(sudo) bash docker_run.bash
Note: Please ensure you have the correct Docker image. For details, refer to the Installation Guide.
Preparation Before Running Aurora
To control a real robot, ensure the following prerequisites are met:
- Actuator version compatibility.
- Actuators are powered on (purple light flashing slowly).
- Good network communication (all actuator IPs are pingable).
- The robot is in a neutral suspended state.
Starting Aurora
Before running Aurora, you need to determine the startup configuration items. The configuration file is located at config/config.yaml
Config:
  RobotName: gr2 # gr1 / gr2 / gr3
  HardwareType: null
  RunType: 0 # 0 run simulator / 1 control real robot
  UseJoyStick: true # use as default
  DomainID: 123 # use as default
- RobotName: The robot model; this should be set to
fouriern1 - HardwareType: Hardware type; this should be set to
None - RunType: Operation mode,
0for running in the simulator,1for controlling a real robot. This should be set to1 - UseJoyStick: Whether to use joystick control,
trueto enable,falseto disable. Since we will demonstrate joystick control next, this should be set totrue - DomainID: The domain ID for DDS communication, used to distinguish different communication domains within the same network environment. The default value is
123; this can be changed to a different value to avoid conflicts during multi-robot collaboration
After confirming the configuration file, run the following command to start Aurora:
AuroraCore --config <path_to_your_config_file>
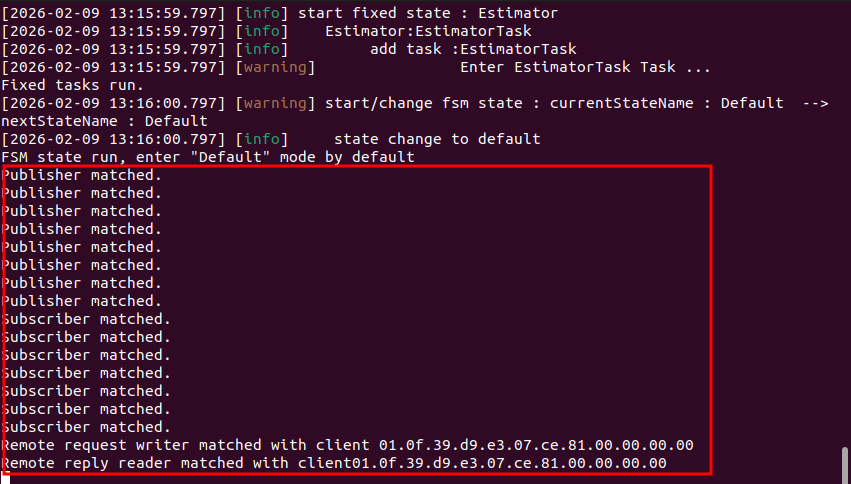
If the program runs successfully, the following message will appear in the terminal:
[info] FSM state run, enter "Default" mode by default
This message indicates that the self-check passed (for real robots) and the Aurora program is ready to execute tasks.
Controlling the Robot
1. Using a Joystick to Control the Robot
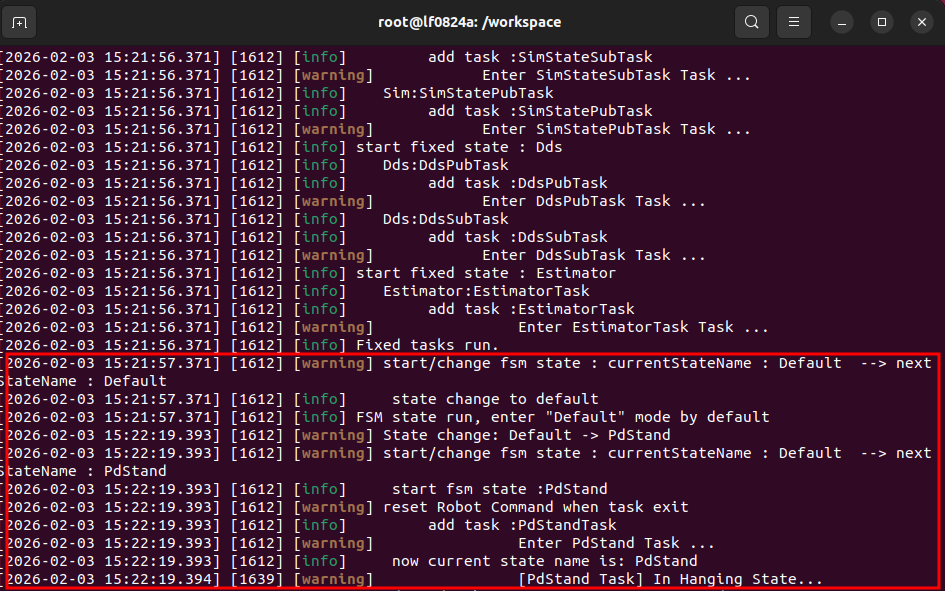
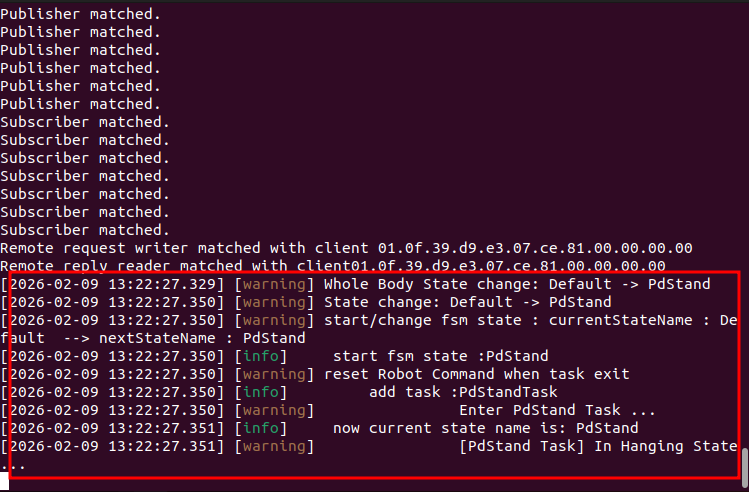
After launching Aurora, press the controller buttons LB + B. The terminal will show a switch from the "default" state to the "Pdstand" state. The robot's legs will bend while suspended, entering a standing posture.
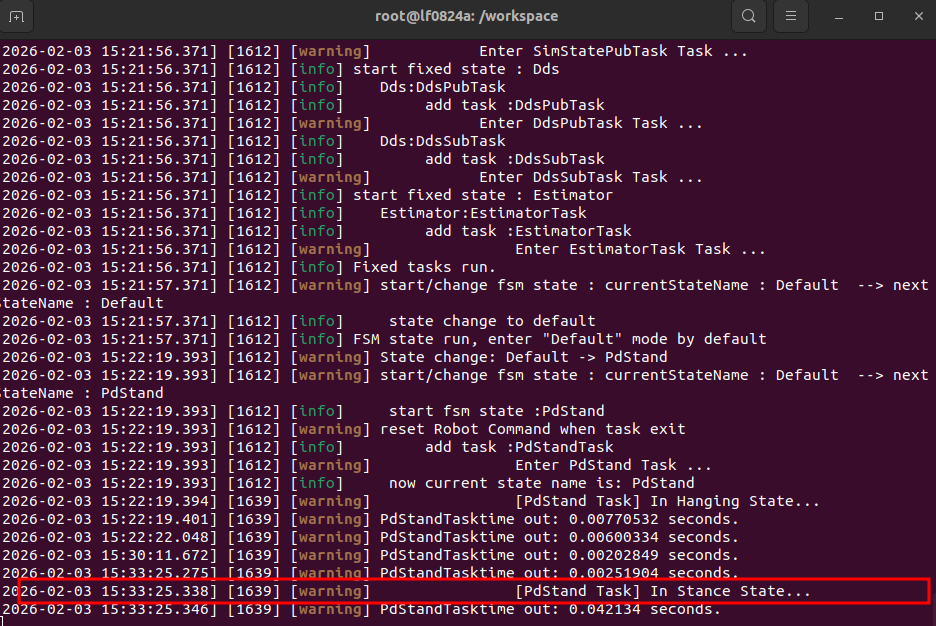
Place the robot vertically on the ground from its suspension stand, and the robot will begin to stand.
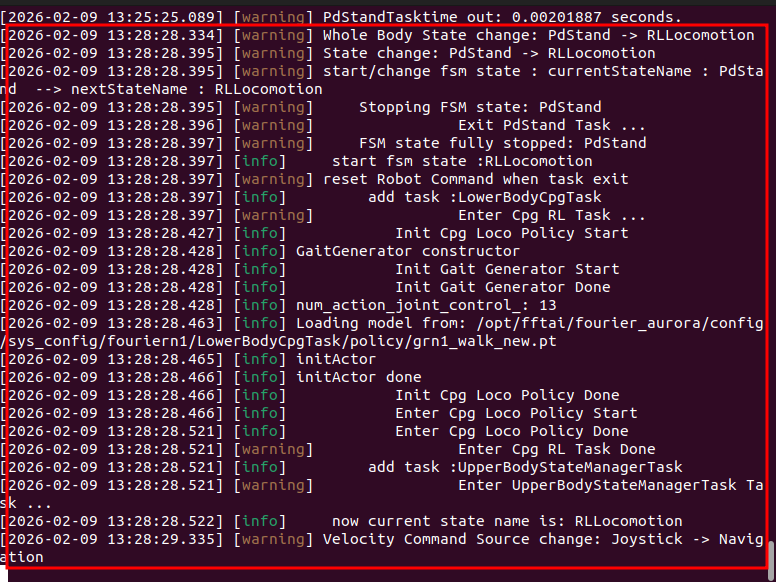
Press the controller buttons RB + A. The terminal will show a switch from the "Pdstand" state to the "RLLocomotion" state, as displayed below:
At this point, you can control the robot's speed using the left and right joysticks. Push the left joystick forward on the vertical axis, and the robot will begin walking forward. You have now successfully used the joystick to make the robot stand and walk in the simulation environment. This tutorial only covers a portion of the standing and walking states.
For an introduction to more state functions, please refer to the Developer Guide
2. Using the Client to Control the Robot
You can also control the robot using the Python client provided by the SDK. For more information on using the client, please refer to the Fourier Aurora Client Introduction
Installing the Client
The client can be used either within the Docker image or in a local Python environment.
Open another terminal, enter the Docker image you just launched or your local Python environment, and run the following command to install the Aurora client:
sudo apt install python3-pip
pip install fourier-aurora-client
⚠️ Note:
If using a Python environment, Python version 3.9 or higher is required.
Running demo_quick_start
Enter the Docker image or virtual environment where fourier-aurora-client is installed, navigate to the Fourier Aurora SDK directory, and run the following command:
python3 python/example/fouriern1/demo_quick_start.py
After execution, the terminal will display communication handshake prompts, as shown below:
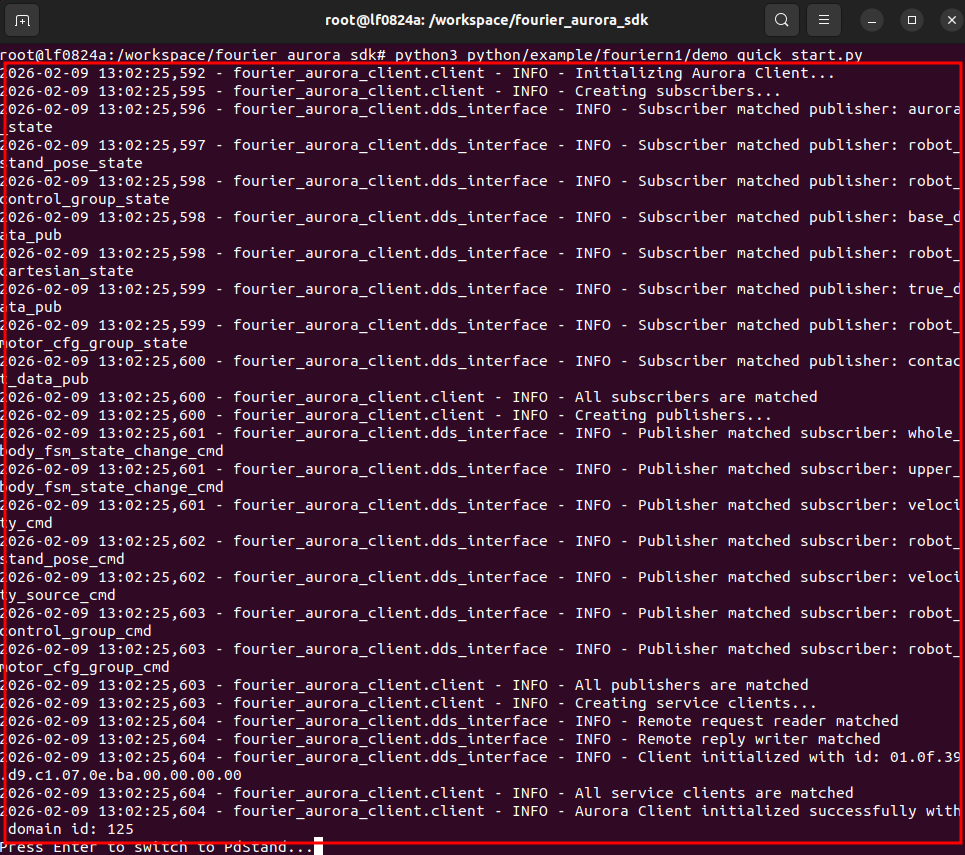
Following the terminal prompt "Press Enter to switch to PdStand...", press the Enter key. The Aurora terminal will display a switch from the "default" state to the "Pdstand" state. The robot's legs will bend while suspended, entering a standing posture.
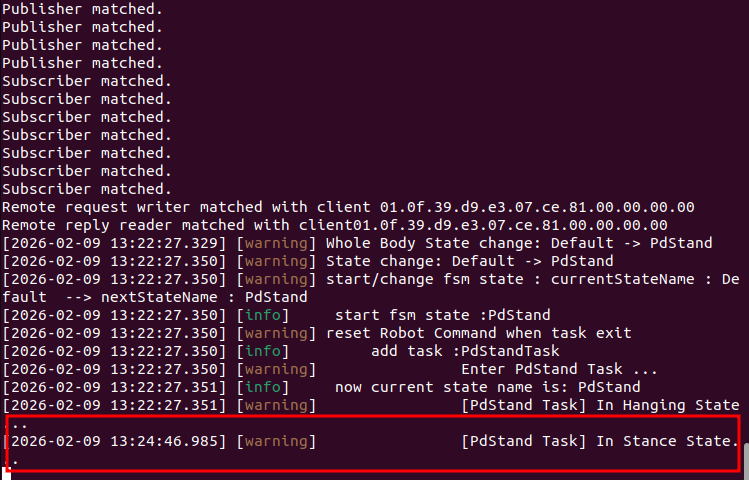
Place the robot vertically on the ground from its suspension stand, and the robot will begin to stand. The terminal will show that the robot is in the Stance State.
Following the terminal prompt "Press Enter to enter walk task...", press the Enter key. The Aurora terminal will display a switch from the "Pdstand" state to the "RLLocomotion" state.
Following the terminal prompt "Press Enter to walk...", press the Enter key. This calls the set_velocity function, sending a forward velocity command of 0.2m/s to the Aurora service, and the robot begins walking.
You have now successfully used the client to make the robot stand and walk in the simulation environment. This tutorial only covers a portion of the standing and walking states.
For an introduction to more state functions, please refer to the Developer Guide